

1
Start the server locally
Build the widgets (if applicable) and start the development server:Your server will be running at
http://localhost:3000 (TypeScript) or http://localhost:8000 (Python) with the MCP endpoint at /mcp. Keep this running in one terminal.2
Expose your server with ngrok
ChatGPT needs an HTTPS URL to connect to your MCP server. Use ngrok to create a tunnel:ngrok will provide a public URL like
https://abc123.ngrok-free.app. Your MCP endpoint is at https://abc123.ngrok-free.app/mcp.3
Configure Content Security Policy domains
Configure CSP domains in your OpenAI app settings so the checkout widget can load Gr4vy Embed:
connectDomains:["api.*.gr4vy.app"]resourceDomains:["cdn.*.gr4vy.app"]frameDomains:["*.gr4vy.app"]
4
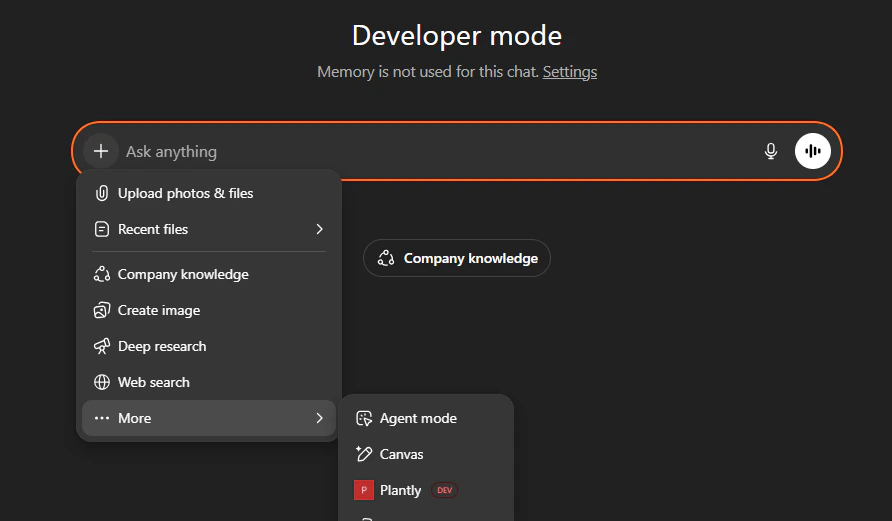
Connect to ChatGPT
- Open ChatGPT (a Pro, Business, Team, or Enterprise subscription is required).
- Enable Developer Mode in your ChatGPT settings.
- Navigate to Settings → Apps (or the equivalent in your ChatGPT version).
- Click Create App.
- Paste your MCP endpoint URL:
https://abc123.ngrok-free.app/mcp - ChatGPT auto-discovers your tools (
list_products,show_cart,start_checkout) and resources.
- Ask “What plants do you have?” — the catalog widget should appear inline.
- Filter, add a few items, then click Proceed to Checkout — the checkout widget should appear with a Gr4vy payment form.
- Enter a test card and submit — the
onCompletecallback should fire with a transaction ID.
5
View transaction in Gr4vy Dashboard
After a successful payment, the transaction appears in your Gr4vy dashboard where you can manage routing rules, payment methods, and orchestration.
6
Deploy to production
Deploy your MCP server to any hosting provider that supports your runtime:
- Set all Gr4vy environment variables (
GR4VY_ID,GR4VY_PRIVATE_KEYorGR4VY_PRIVATE_KEY_PATH,GR4VY_MERCHANT_ACCOUNT_ID,GR4VY_ENVIRONMENT,GR4VY_WEBHOOK_SECRET) on your hosting provider. - Build the widgets and server as part of your deploy pipeline (
npm run buildfor TypeScript, orpip install .for Python). - Use the appropriate start command for your runtime (
npm startfor TypeScript,python server.pyfor Python). - Update your ChatGPT App’s MCP URL to point at your production HTTPS domain.
- Register the production webhook URL in your Gr4vy dashboard (
https://your-domain.com/webhooks/gr4vy) if you enabled webhook verification. - Switch
GR4VY_ENVIRONMENTfromsandboxtoproductiononce you are ready.