About this integration
Similar to the SDK integration, this setup requires you to perform the following steps.- Enable Apple Pay in your merchant dashboard.
- Sign up for an Apple Pay Developer account and register a payment processing certificate.
- Add the merchant ID and its processing certificate to your app.
- Render your own Apple Pay button.
- Create a session with the right merchant ID.
- Catch the Apple Pay token and pass it to the API for processing.
Enable Apple Pay
To enable Apple Pay, head over to your dashboard and then go to Connections -> Catalog -> Apple Pay. Next, complete, and submit the form to create a new Apple Pay service.Register a certificate
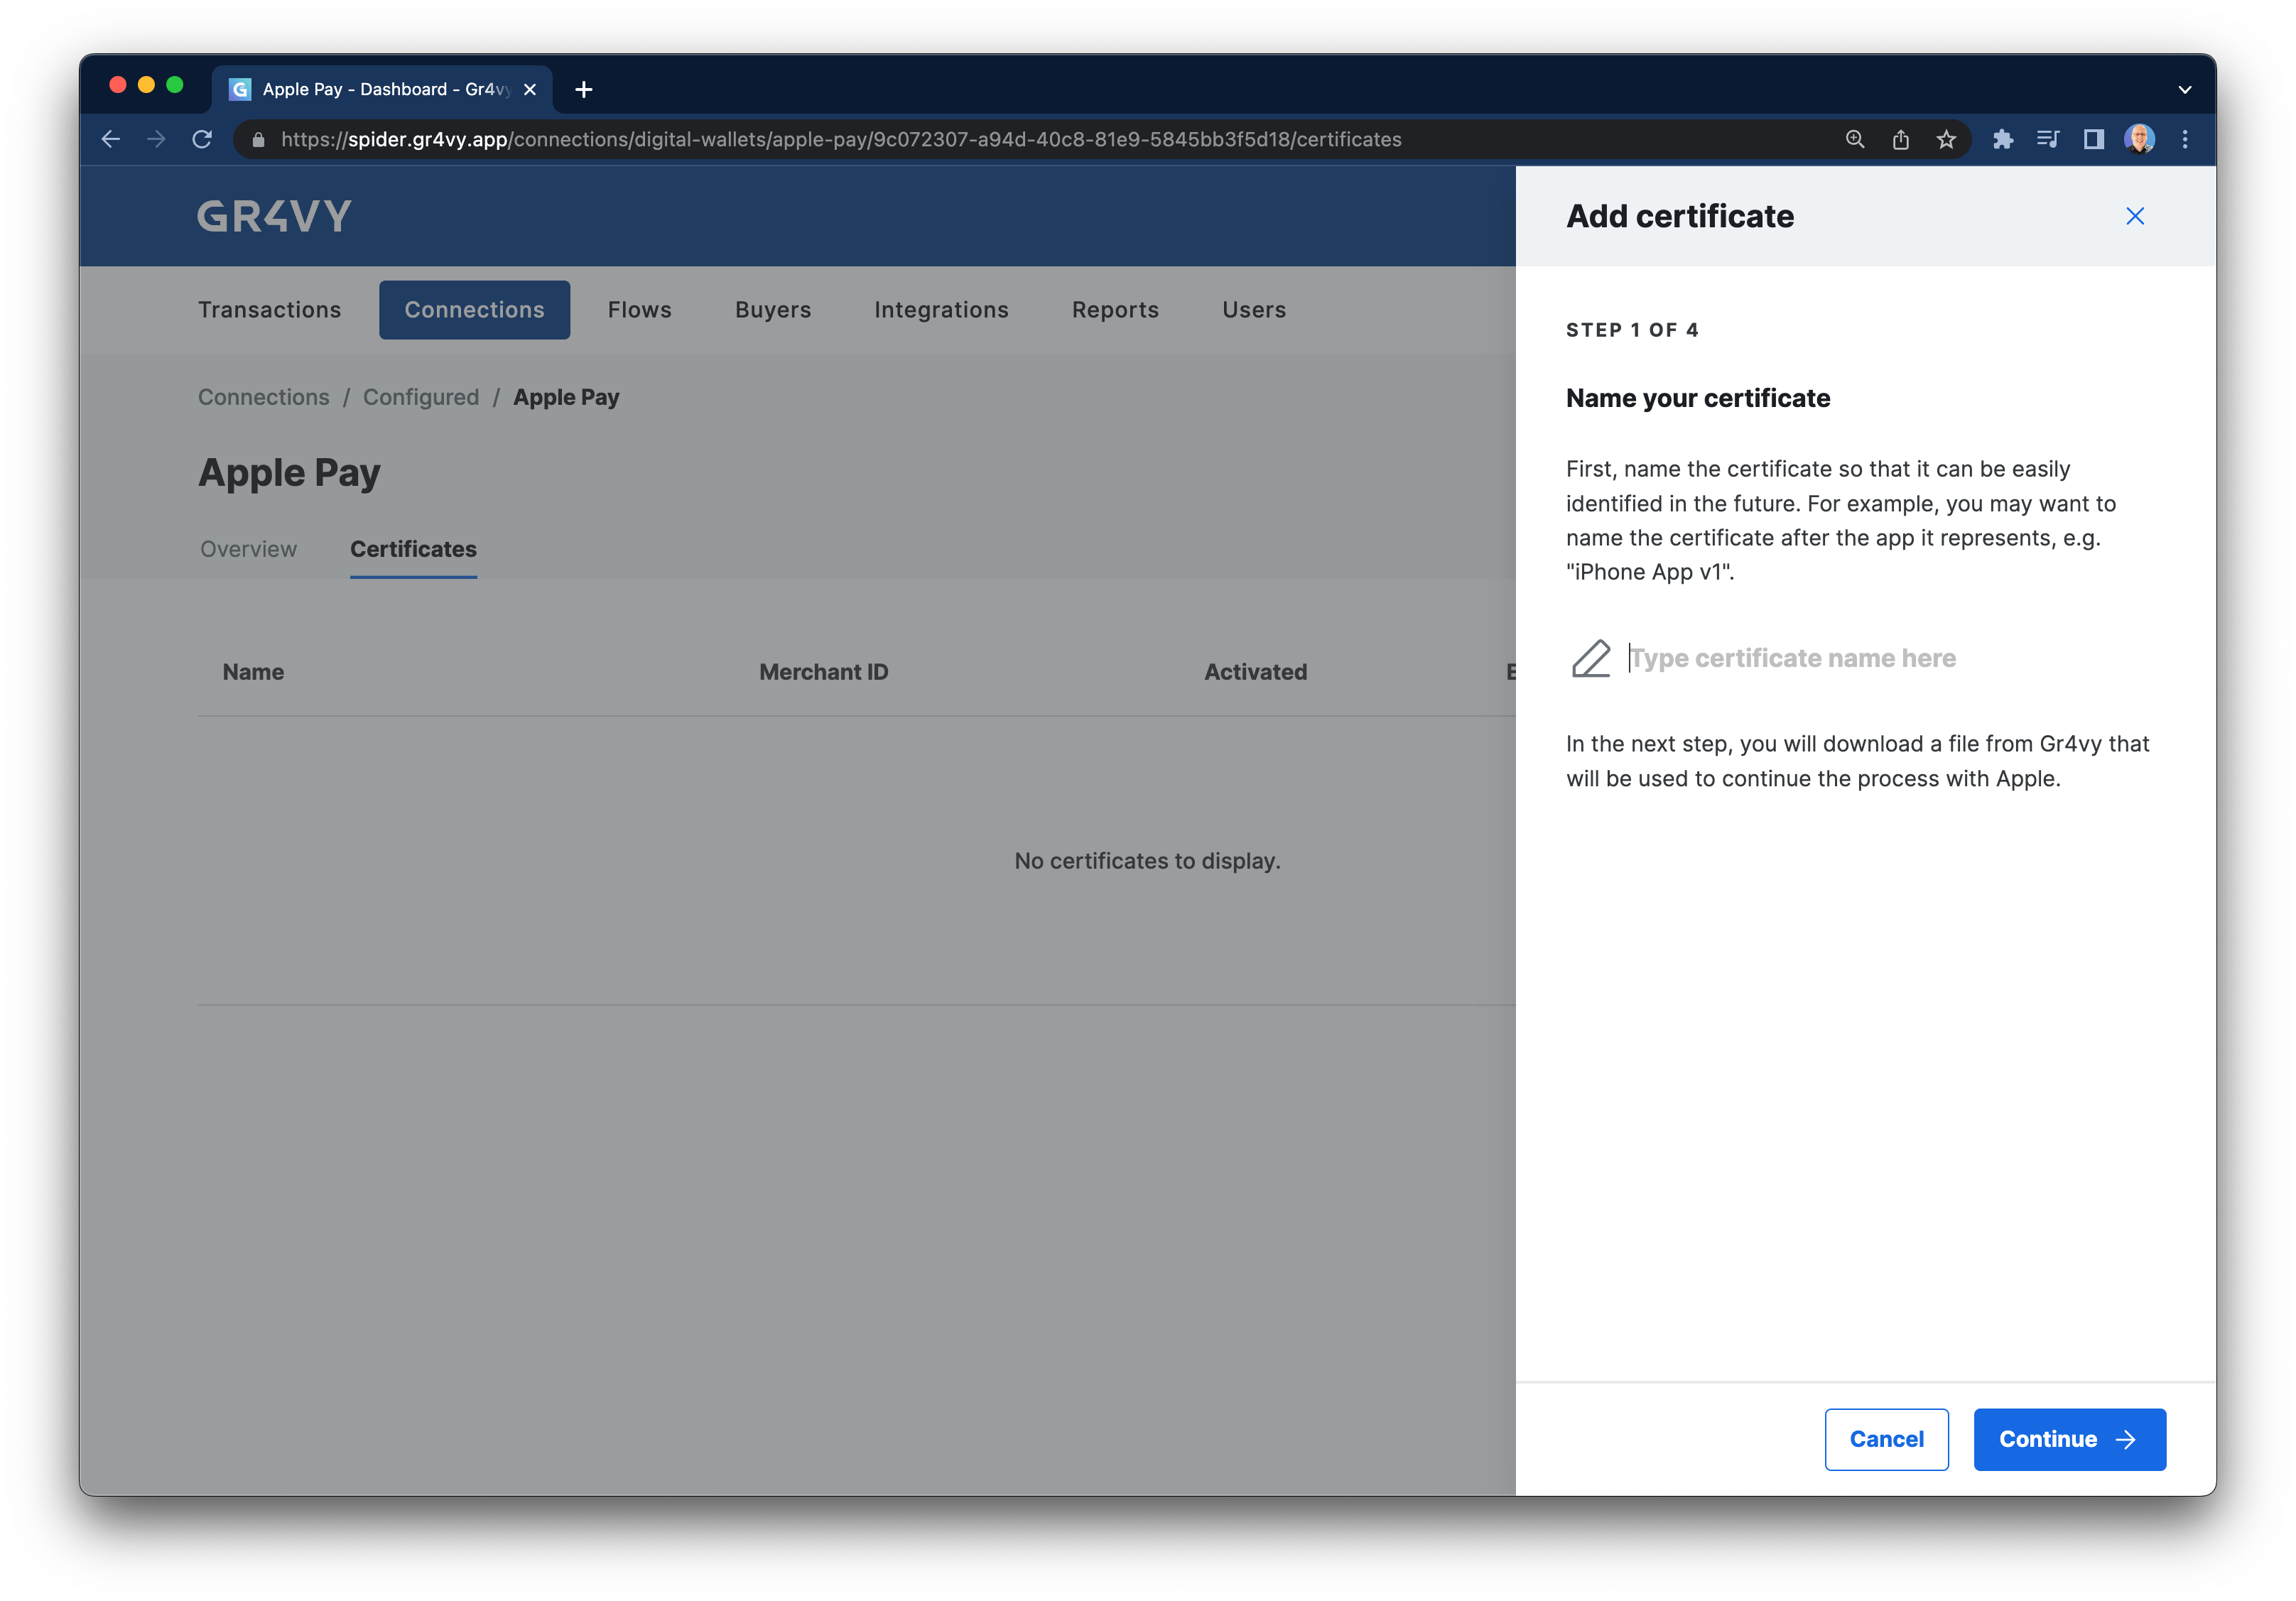
To process Apple Pay in a mobile app, register for an Apple Pay developer account and join the Apple developer program. Once set up, generate a new Apple Pay processing certificate using the dashboard. Go to Connections -> Apple Pay -> Certificates and click Add certificate to start the process.
- Create or select a Merchant ID to associate a payment processing certificate with.
- In the Apple Pay Payment Processing Certificate section, click Create Certificate.
- Select Choose File to upload the CSR you downloaded from the dashboard, and then Continue.
- Verify the certificate details and Download the signed certificate from Apple.
Add the certificate to your app
In order for the app to accept Apple Pay, set the same Apple Merchant ID in the app. In the Xcode project, find the Signing & Capabilities in the project editor. Select the same Merchant ID used to register the payment certificate. Please ensure the provisioning profiles and signing certificates are updated to contain this ID.Integrate Apple Pay
- Swift
- React Native
Display an Apple Pay button
An Apple Pay button can be displayed in a few different ways. Apple’s guide shows a code sample that checks if Apple Pay is enabled on the device and then adds the button directly to a view with code.Set the merchant ID
Once the button is clicked, the guide requires you to set up a new payment request. In this step, set themerchantIdentifier to the merchant ID for the Apple Pay certificate you’ve registered in the merchant dashboard.For example, if you registered a certificate for merchant ID merchant.com.example.demo in the dashboard, then set this same ID in your app code.Create a transaction
Finally, once the Apple Pay transaction has been authorized by Apple, create a transaction with the API.This API call could be made in your frontend code in Swift or Objective C, or
the token could be sent to your backend for processing.
In this example, the
[TOKEN] value is the token from the PKPayment object as returned by Apple Pay
in the paymentAuthorizationController(_:didAuthorizePayment:handler:) method.Common Issues
Apple Pay option is not shown
Apple Pay option is not shown
There could be many reasons why this doesn’t show.
- Make sure the merchant ID is the same as shown in the dashboard
- Make sure the certificate isn’t expire
- Make sure an Apple account is set up on the device and cards are added to it
- Make sure the system is set up to handle Apple Pay
- Check the Apple Pay connection is enabled
- Check a card connector is enabled for the selected country/currency
- Check that a Flow rule doesn’t hide Apple Pay
Apple Pay payment failed
Apple Pay payment failed
There could be a few reasons why this doesn’t show but most likely
this means the card was sent to a connector that either doesn’t understand
Apple Pay cards, or did not recognize the test card.
Error when adding test card to wallet
Error when adding test card to wallet
This seems to happen at times with the test cards provided by Apple. Try a
different card, or try again later.